
Bad 2 Bad Apocalypse Squad Management Tips for Beginners
Bad 2 Bad Apocalypse requires strategic planning, precise resource distribution, and clear squad management if you want your team to survive the wasteland and defeat hostile factions.
Anúncios
Developed by DAWINSTONE, this action RPG puts you in command of Delta Team, forcing you to make quick tactical choices in every mission.
For new players jumping into this post-apocalyptic world, balancing gear loads, stamina, unit roles, and base upgrades can feel overwhelming.
This guide breaks down essential squad management strategies tailored specifically for beginners, focusing on core role distribution, gear optimization, base facilities, and combat tactics to build a high-survivability team capable of clearing high-level zones.
Key Takeaways
Assigning clear squad roles ensures your team maintains stability, combining front-line tanks, primary damage dealers, and support units.
Anúncios
Prioritizing inventory weight and stamina management prevents severe movement penalties during field operations.
Coordinating skill synergies allows you to pair crowd control with high-damage attacks to clear enemy waves efficiently.
Upgrading key base facilities guarantees access to essential combat buffs and steady gear progression.
1. Squad Composition and Role Allocation
Building a balanced team in Bad 2 Bad Apocalypse requires more than just picking four high-level characters.
Each squad member must fulfill a distinct tactical role on the field to ensure your team can handle various enemy encounters, from swarming infected to heavily armored bosses.
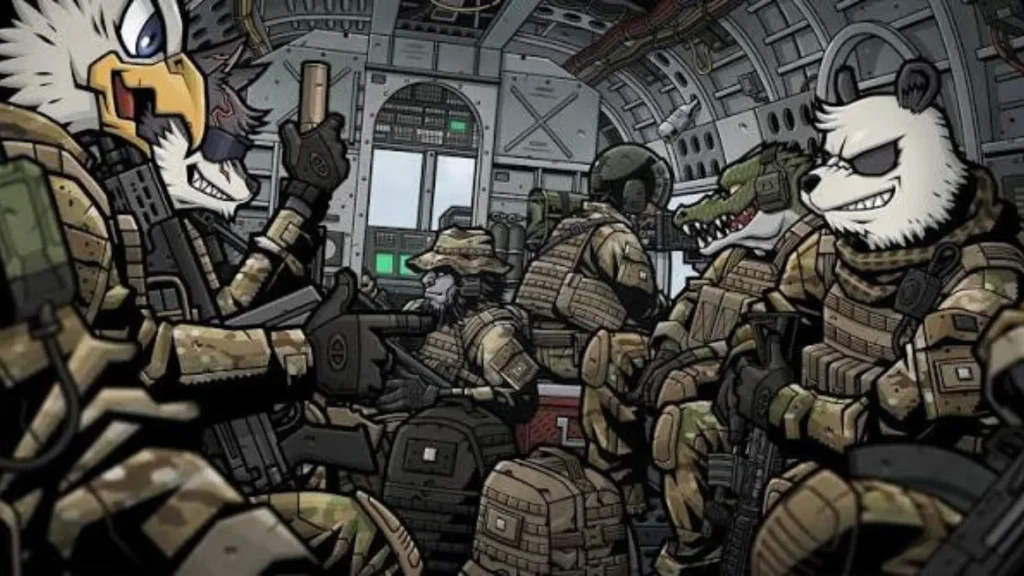
A reliable beginner setup relies on a four-person squad divided into specialized duties.
The Front-Line Tank acts as your team shield, equipped with high defense, heavy armor, and close-range weapons like shotguns to draw enemy aggression and absorb incoming damage.
The Primary Damage Dealer works from mid-range with assault rifles or light machine guns, offering steady target suppression and continuous damage output.
The Long-Range Sniper provides critical single-target burst damage using high-caliber rifles, making it easier to eliminate high-threat commanders and elite infected before they close the distance.
Finally, the Support or Field Medic utilizes healing gadgets, drone controls, and tactical buffs to maintain the health and combat efficiency of your front-line units throughout long dungeon runs.
2. Weapon Selection and Loadout Optimization
Weapon choices directly dictate how effectively your squad manages ammo consumption, engagement distance, and crowd control.
Equipping your entire squad with identical weapon types quickly leads to resource depletion and leaves critical operational gaps.
Varying your armament ensures continuous firepower and balanced ammo usage across every engagement.
Assault Rifles offer stable recoil, reliable accuracy, and balanced fire rates, making them ideal all-around choices for primary damage dealers working at mid-range.
Shotguns deliver immense close-range stopping power and wide spread, making them essential for tanks needing to knock back approaching hordes.
Sniper Rifles feature lower rates of fire but deliver massive critical-hit damage, proving vital for eliminating heavily armored targets from a safe distance.
Submachine Guns provide high mobility and rapid fire rates, allowing flankers or support units to escape quickly when swarmed by fast-moving enemies.
To stay updated on official patch notes, balance updates, and developer announcements, players can consult the DAWINSTONE Developer Portal for verified information.
3. Managing Squad Stamina, Weight, and Resources
Field survival relies heavily on managing physical resources beyond basic health points. Ignoring carry capacity and stamina mechanics leads to reduced field performance and premature team wipes.
Every item, weapon, and piece of armor stored in your inventory adds weight to your squad.
Overburdening your team leads to a noticeable reduction in movement speed, making it much harder to dodge area-of-effect attacks or kite aggressive enemies.
Excess weight also accelerates stamina drain during sprinting and tactical maneuvers, while an overencumbered squad loses the ability to gather rare crafting components found in high-level sectors.
++ Earth Revival Open World Activities Beyond Main Missions
Characters continuously drain hunger and stamina indicators as they explore. Keeping your squad fighting at peak efficiency requires smart field habits, such as cooking meals at your base camp before embarking on missions.
Cooked food provides significantly higher stat restoration and temporary buffs compared to raw ingredients found in the wild.
Resting at designated campfires scattered throughout sectors restores stamina without consuming extra consumable items.
You can also rotate active control between characters to distribute tactical skill usage and manage individual exhaustion levels during long engagements.
4. Comprehensive Equipment and Squad Metric Guide
To simplify loadout decisions, the table below outlines core character metrics, recommended gear configurations, and tactical priorities for a balanced beginner squad.
Read more: Path of Exile Mobile: Create Unique Builds and Conquer Endless Dungeons
| Squad Role | Primary Weapon | Recommended Armor | Core Metric Focus | Primary Tactical Function |
| Vanguard (Tank) | Shotgun / Heavy Melee | Heavy Plated Armor | Defense, Max Health, Threat Generation | Absorbs damage, breaks enemy formations, holds front lines. |
| Pointman (DPS) | Assault Rifle | Medium Tactical Vest | Accuracy, Fire Rate, Critical Chance | Sustained mid-range damage, target switching, perimeter defense. |
| Marksman (Sniper) | Sniper Rifle | Light Recon Gear | Critical Damage, Range, Penetration | High-value target elimination, long-range scouting. |
| Field Engineer (Support) | SMG / Drone Controller | Light / Utility Vest | Cooldown Reduction, Healing Efficiency | Team healing, tactical drone deployment, crowd-control buffs. |
5. Base Camp Infrastructure and Crafting Priorities
Managing your mobile base camp is directly tied to squad progression. Neglecting base construction limits your access to advanced weaponry, tactical gear, and critical field supplies.
Focus your initial scavenged resources on upgrading key base structures in order of operational importance.
The Crafting Station should be upgraded first to unlock access to higher-tier weapons, armor mods, and specialized ammo types.
The Cooking Workbench allows you to prepare advanced food recipes that boost squad stamina, combat stats, and resistance metrics before major field operations.
Upgrading the Storage Depot expands overall inventory storage, letting you stockpile raw crafting materials and spare gear without clogging field backpacks.
++ Words of Wonders Update Adds New Puzzle Challenges
Finally, the Vehicle Workshop enhances squad transport options, enabling faster travel across map sectors and providing extra mobile storage during extended scavenging runs.
6. Tactical Field Movement and Combat Position
Succeeding in combat requires strict positioning discipline. Careless movement draws multiple enemy groups simultaneously, overwhelming your squad’s defenses.
Always move cautiously when entering unexplored sub-sectors to avoid triggering ambushes or high-density infected swarms.
Maintaining tight formations protects your backline, preventing fast-moving enemies from slipping past your tank to target your sniper or medic.
Utilizing terrain barriers helps funnel large enemy groups through narrow choke points like doorways or alleys, maximizing the impact of shotgun blasts and area skills.
If a battle turns unfavorable, do not hesitate to use smoke grenades or crowd-control abilities to disengage and retreat safely to a cleared sector.
For community-driven strategy discussions, user guides, and tactical tips from experienced players, you can visit community forums on Reddit.
Conclusion
Building a powerful team in Bad 2 Bad Apocalypse requires a clear balance of distinct tactical roles, calculated inventory management, and disciplined field tactics.
By establishing a classic four-person squad structure, upgrading your base facilities early, and paying close attention to gear loads and stamina, you set your team up for consistent success across the wasteland.
As your squad grows stronger, continue experimenting with specialized gear mods and drone support to tackle increasingly difficult zones.
Your next immediate step is to return to your base camp, review your squad’s current equipment weight, and refine your roles before stepping back out into the field.
Frequently Asked Questions
What is the best starting squad structure for beginners in Bad 2 Bad Apocalypse?
The most reliable beginner setup includes one front-line Tank using a shotgun, one mid-range DPS with an assault rifle, one long-range Marksman with a sniper rifle, and one Support unit equipped with an SMG or drones.
This setup balances burst damage, sustained firepower, defense, and team survivability.
How do I reduce squad encumbrance and carry weight issues?
Reduce encumbrance by upgrading your squad’s backpack capacity, depositing unnecessary raw materials into your base Storage Depot, and equipping light or medium armor on support and sniper roles rather than heavy gear across all characters.
Why is my squad’s stamina draining so quickly during missions?
Stamina drains rapidly if your squad is encumbered past safe thresholds, running constantly without taking breaks at campfires, or exploring while hungry.
Keep squad weight optimized, consume prepared meals before field ops, and rest regularly at campfire sites.
Should I focus on upgrading weapons or armor first at base camp?
For beginners, prioritizing weapon upgrades at the Crafting Station is generally recommended.
Clearing enemies quickly minimizes the overall damage your team takes, reducing the immediate reliance on high-tier defensive armor early in the game.
++ TIPS can make you strongers | BAD 2 BAD APOCALYPSE Ep Special 1
Popular Now